
Adding decorative foil to your paper projects creates some extra sparkle and certainly catches the recipient’s attention. Decorative foil can be found in craft stores and online and come in an array of colors for your project. There are ways to add foil with and without a laminating machine. See the process video below for more details.
Supplies for Adding Foil
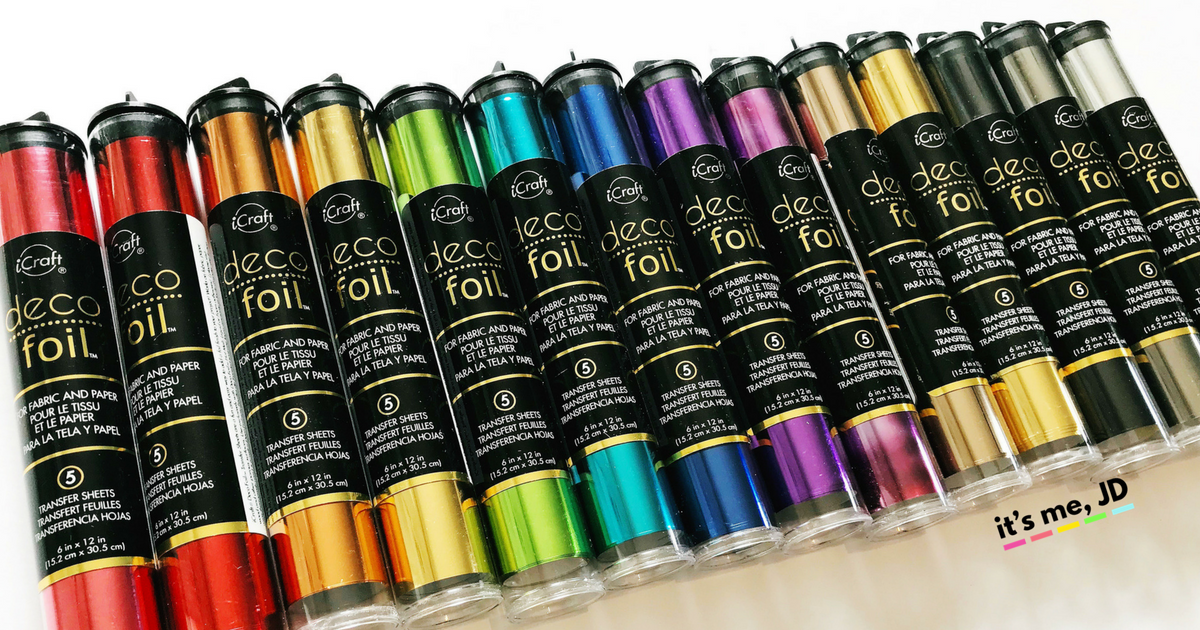
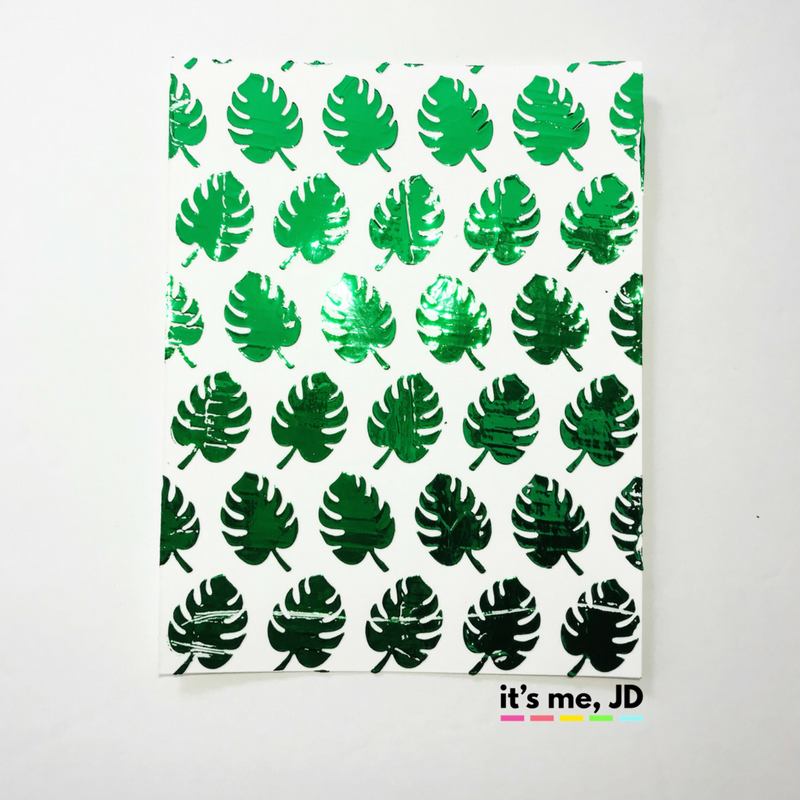
- Decorative Foil – I’ve used this foil with great results. I’ve also used Heidi Swapp foils without any problems either.
- Thicker Cardstock – I always use this brand of cardstock for my projects because it holds up well with different techniques.
Optional Supplies for Adding Foil:
- Adhesives and Glues– See below
- Laminator – If you want a smoother finish
- Various Stamps
- Versamark Ink
- Embossing Powder
- Heat Gun
- Various Stencils
- Various Metal Dies
- Manual Die Cutting Machine
- Laser Printer
- Craft Mat
Foiling Tips:
- Always adhere your foil pretty side up. Meaning if you bought blue foil and your decorative foil is shiny blue on side and dull silver on the other side, place the foil on top of your project where the shiny blue side is facing you and the dull silver side is facing your project. (see video)
- If you’re using adhesives and your foil missed a spot, go back over that spot with more foil to see if you can cover that spot up. (see video)
- Make sure it’s not too breezy where you are working. The foil is very delicate.
Here are 10 Easy Ways to Add Foil To Your Paper Projects With and Without a Laminator!
Foiling Without a Laminator
Double Sided Tape

You’ll need a super strong double sided adhesive like this one. Simply adhere one side of the tape to your paper project first. Then peel off the other side. Then adhere your foil.
Glue Pens

The glue pen I found works the best is this glue pen. You have to wait until it dries. Then it will be a little sticky and that’s when you know you can place your foil on.
Glue Dots

Attached your glue dots to your paper project. Try to go get them as even and as flat as possible. Then adhere your foil on top. Great for polka dot and circle designs!
Rubber Cement
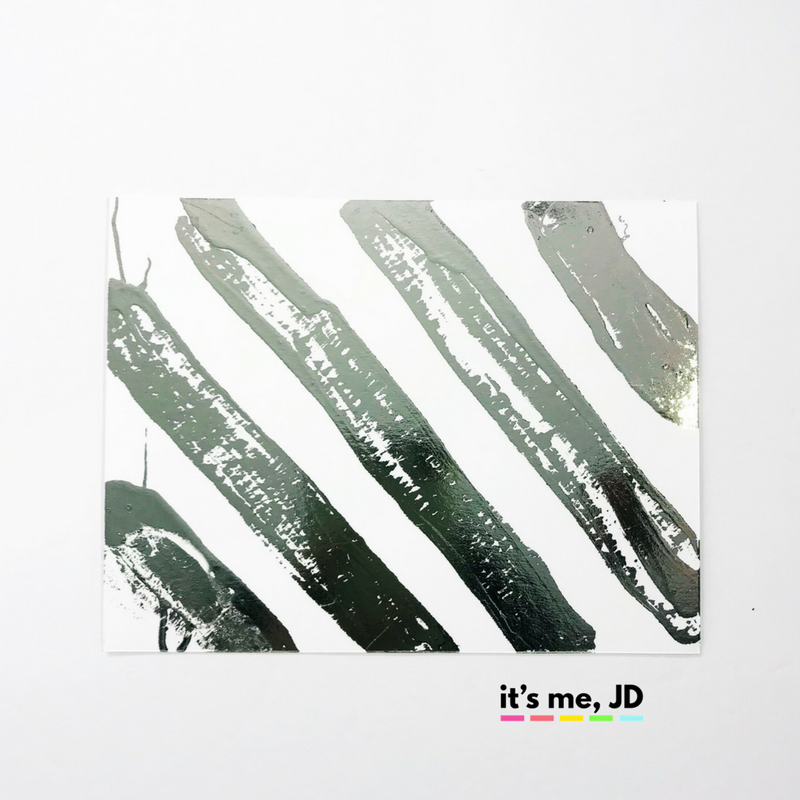
Adhere the rubber cement to your paper. Try to get it as smooth as possible and then add your foil on top. This is great for a distressed/mixed media look.
Metal Dies and Double Sided Adhesive sheets
Similar to double sided tape, only you are using double sided adhesive sheets and then using metal dies to cut them out. So you adhere one side of this adhesive sheet to the paper. This is when I use a metal die and my manual die cutting machine to cut out different shapes and designs. Then I peel off the backing and adhere your foil. This is a great technique for using different colors of foil in my projects.
Spray Adhesive and Stencil
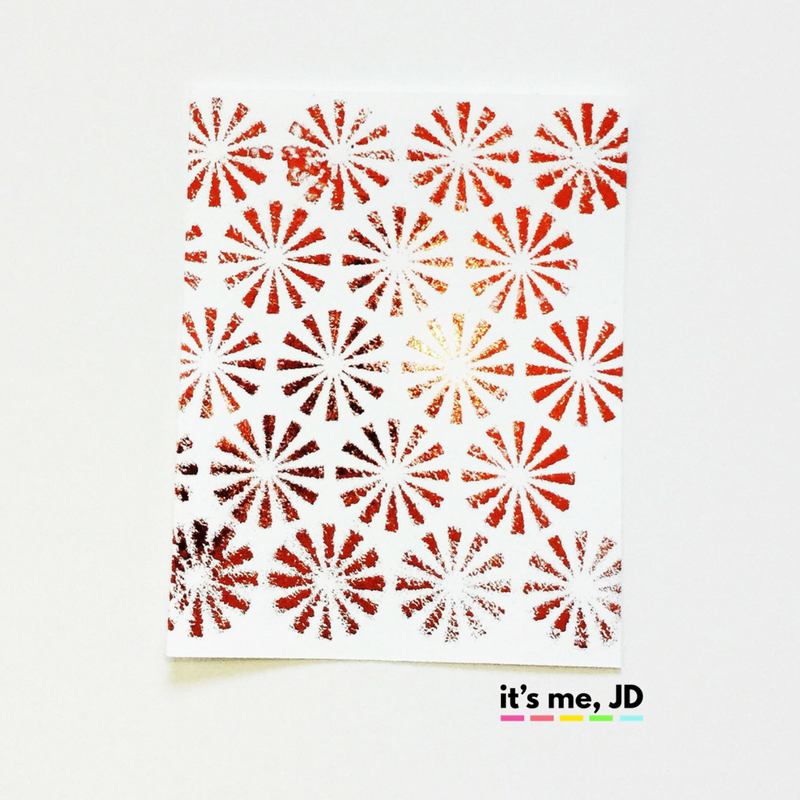
It’s best to go outside when your use this spray adhesive. But what I do is lay my stencil on top of my project, then spray the spray adhesive over it. Bring my project inside and then add my foil on top.
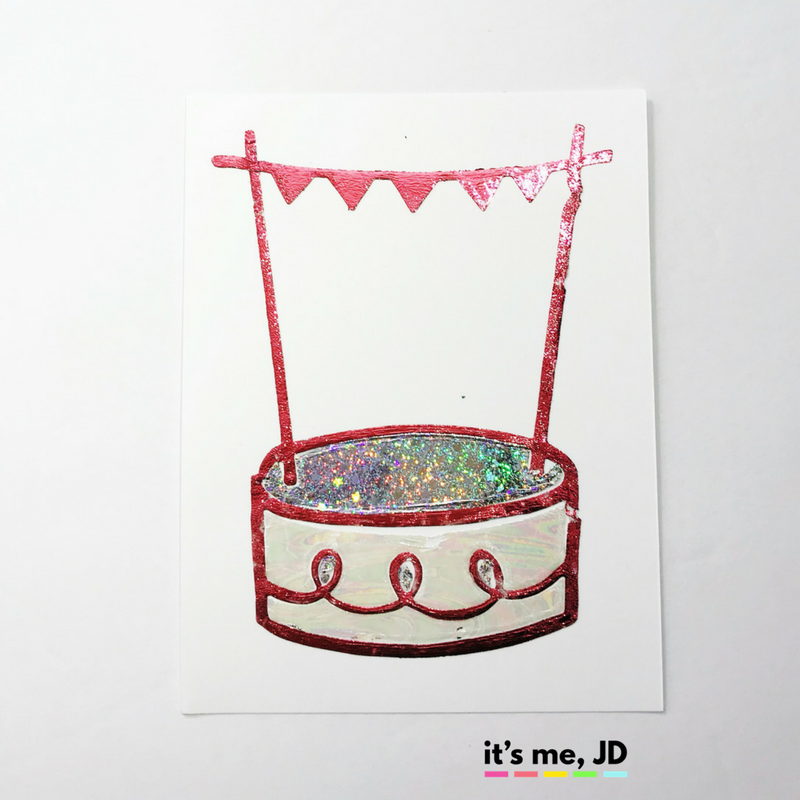
Sticky Embossing Powder

Stamp your image on your paper in versamark ink. Cover with sticky embossing powder. Melt the powdered image with a heat gun. It should be sticky now. Adhere your foil on top. This method is also recommended for a distressed look.
Foiling With a Laminator
Laser Printer

This method, by far, gives the smoothest results. Print your design with a laser printer. Then make your laminating sandwich (foil goes over your paper and cover it with parchment paper), then run it through the laminator.
Transfer Gel
Lay down a stencil over your paper. Tape it down with low tack tape to hold the stencil in place. Then smear your transfer gel over the stencil to a nice, thin, even layer. Remove your stencil and either soak it in soapy water or wash it right away. Wait until the foil paste dries (it will become clear). Then make your laminating sandwich (foil over your paper and cover it with parchment paper) and run it through the laminator. This give great dimension to your foiling.
Heat Embossing Powder

This technique comes courtesy of Jennifer McGuire. Stamp your image on your paper in versamark ink. Cover with heat embossing powder. Melt the powdered image with a heat gun. No sandwich this time. Lay your foil over your powdered image and run it through the laminator. DO THIS AT YOUR OWN RISK TO YOUR LAMINATOR. It worked for Jennifer and I’s projects but I can’t always guarantee it will work for yours.
SEE PROCESS VIDEO:

2 Comments on 10 Easy Ways to Add Foil To Your Paper Projects With and Without a Laminator!
Comments are closed.
I loved your video!!! Such an amazing post!!! After watching your video, I am totally interested in possibly creating a keepsake memory of my 2 year olds handprint & footprint out of foil & wanted to ask you which method do you personally think will be the best result for doing something like this? Thanks so much for your advice!
Thank you! I would say for a footprint either stamping in versamark ink and foiling, or for the smoothest foil, stamp the foot in black ink, scan it in (edit on your computer if necessary), then print on a laser printer, and then foil.