
Ink blending is a very popular technique for paper crafts. You can create custom backgrounds or sentiments using the stamping inks in your craft stash. It can be difficult for some to start out at first. That’s why I’ve gathered the best tips for ink blending below.

Visit my instagram page for a bunch of videos of the process of ink blending

1. Use the right paper
You’ll want to use a cardstock that is a) smooth and b) a little thicker so it can hold more ink. This cardstock from Strathmore and this cardstock from Neenah are my absolutely favorite.

2. Use the right tools
For a lighter coverage, I use these blending brushes. For the brushes, I have one for each color group. For more intense coverage, I use these blending tools. Since they are really cost-effective, I like to have one ink blending foam for each ink pad. For smaller areas or intricate parts of stencils, ink daubers like these work well.

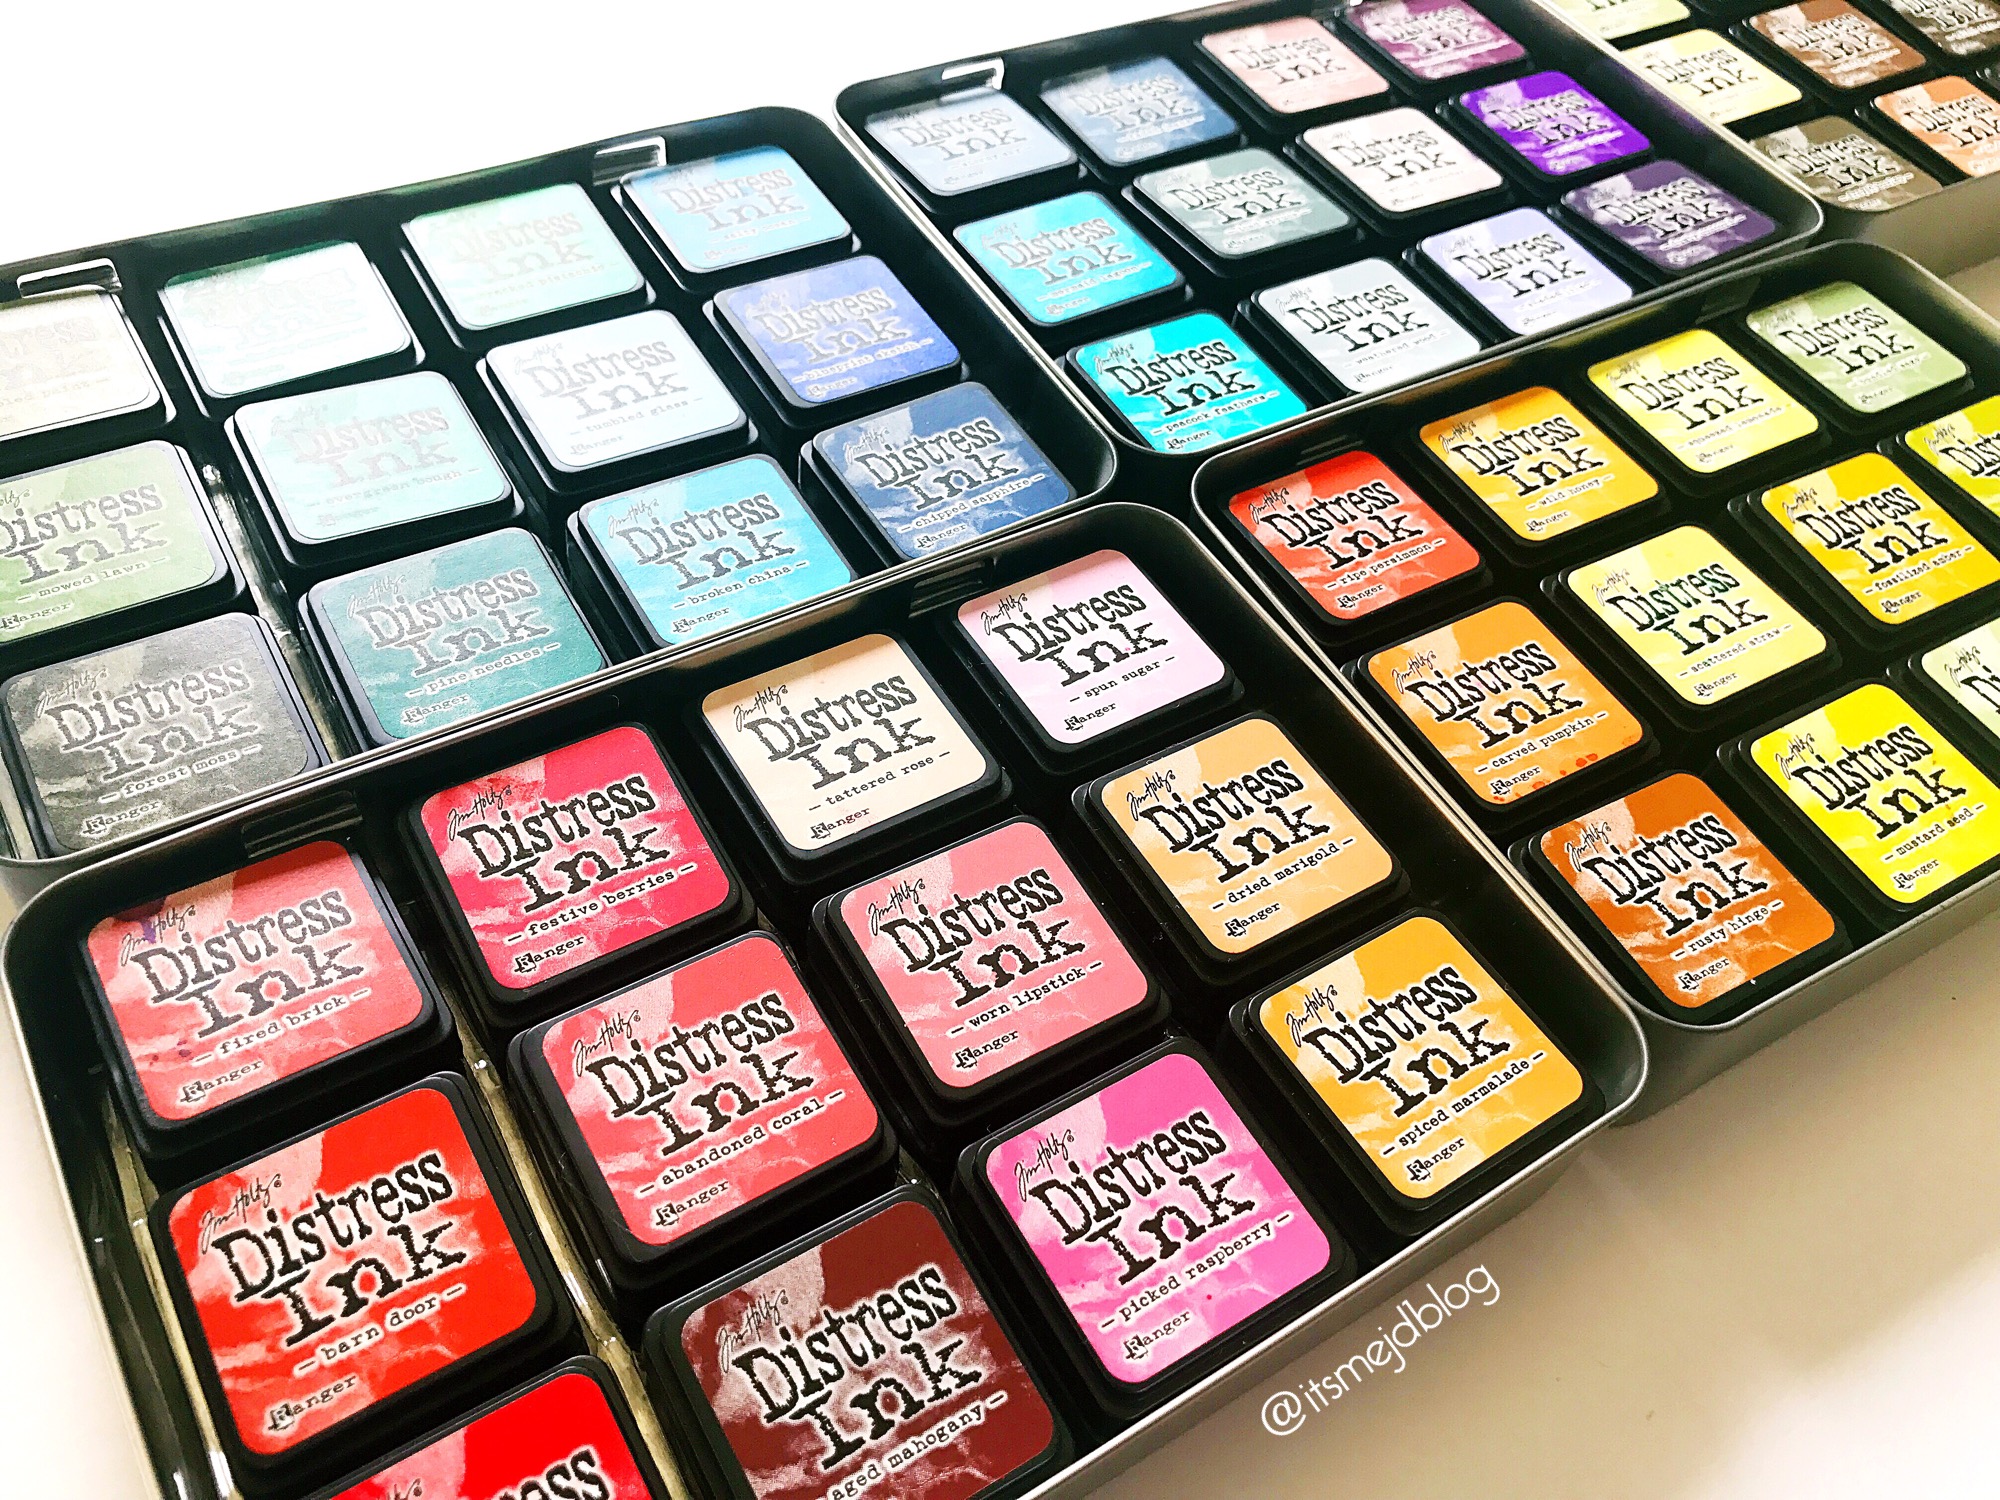
3. Use the right inks
You can blend most dye inks. Pigment inks will be really wet to work with. Distress inks and Distress Oxide inks are very easy to work with.
4. Use a craft mat
I use this craft mat to blot my ink off first to avoid harsh lines. Then I slowly work the ink off from the craft mat into my paper. This craft mat also make clean-up a breeze.

5.Saturated ink foam
If you’re using a round ink blending tool, Ink blends better when the blending foam is saturated.
6. Play with the angle
Some prefer to blend with their project stuck down. This technique works well if you’re using a stencil. I like to use this painter’s tape to hold down my project or any stencils. It has to be low tack to not harm your project. For painter’s tape that is too sticky, run the sticky part over your hands a few time to remove some of the stickiness. This post-it tape will work as well. Other projects may turn out better if you adjust the angle of the paper.
7. Start off page
Starting off the page will get you in the right rhythm as well as avoid harsh lines from the blending tool. This goes from the blending tool and the blending brush. It’s also more advantageous to blend in a circular motion.
8. Build color
Ink blending is more about building color. If you put too much ink on, you can’t take it off. So start light, and add more until you’re happy with it.
9. Play with pressure, elbow on table
Figure out the right pressure to you. If you are naturally heavy-handed, try placing your elbow on your work surface and continue blending in a circular motion with your hand. This will take some of the pressure off.

10. Protect your fingers and your paper
If covering a large area, use a scrap piece of paper underneath your non-blending hand to hold down the cardstock you’re working with. This will help avoid smudges on your projects as well as minimize inky fingers.
BONUS TIP: Use a color wheel to help you determine if the colors you are going to blend will work nicely with one another.
 RELATED:
- Best Inks for Stamping and Techniques for Card Making
- The Big List of Must-Have Stamps for Card Makers
- 12 Must-Have Supplies for Card Making – Crafts 101

13 Comments on 10 Ink Blending Tips and Techniques for Paper Crafts
Comments are closed.
Great tips! Thank you so much for sharing! Would love to see more!
thank you!
You did a great job! Your tips were easy to follow and concise.
thanks so much!
Best inks for coverage of silhouette clear stamps like Altenew to avoid beading?
I would say use a pigment ink if you have the time and it’s just a silhouette stamp (not a layering stamp).
For a layering stamp and full coverage, I reach for Gina K or Catherine Pooler inks.
Thanks
great ideas thank you
Thank you for these tips! You are well-spoken and I really appreciate how clear all the directions are.😊
thank you!
Thank you so very much , J. D.
you have answered so many questions for me, feel much meu chore confident in myself to know what I am reading at times.
You are clear and precise.
☺
thanks!
thank you!