
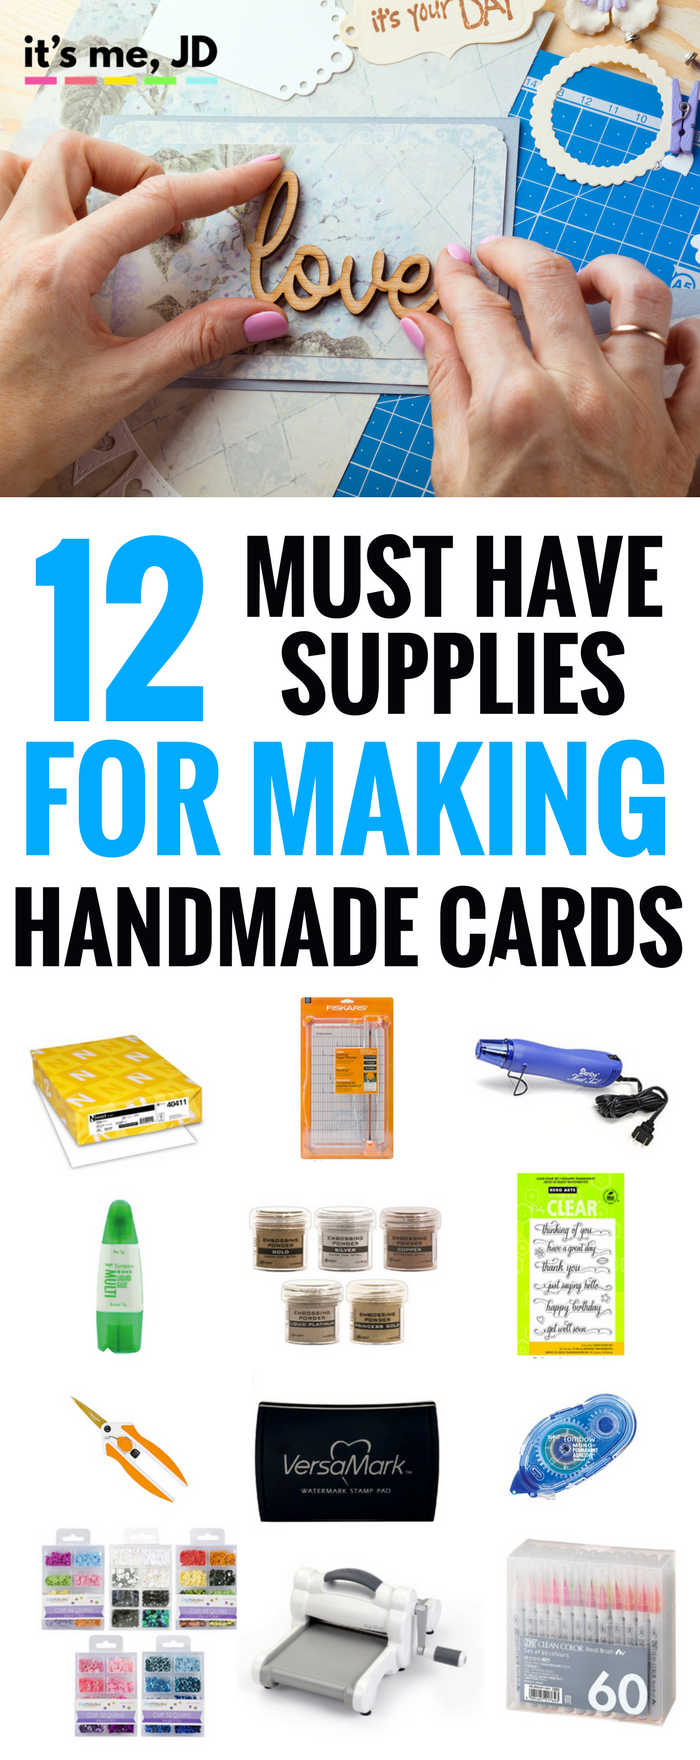
For beginners to experts, these are the card making supplies, tools, and accessories you must have in your craft stash to make cards. Let me know your favorite crafty tools!

Cardstock
For card making, you’ll want a decent, heavier card stock for your card and card base. After all, your recipient will be holding and feeling these cards in their hands, so you want them to feel weighty, and not cheap.
Neenah has an excellent brand of card stock. I recommend getting a ream of the color “solar white” to get you started
You can also get cheaper card stock for layering techniques. These can typically come in a variation of colors like this packet.

Paper Trimmer
For a good paper trimmer, you’ll want to buy one that will give you straight edges and accurate cuts every time. Some prefer the slider cut, some prefer the ax (or guillotine cutter). This is up to you. I feel like the ax might give you a cleaner cut if you’re confident that your lines are straight. I always second myself when I line it up, so I prefer the slider cut of this trimmer. The slider cut (also called rotary cut) give me a chance to do it twice when I slide it down the slide it back up.

Adhesive Runner
By far, the most popular adhesive or stamp runner for card makers is this Tombow Adhesive. It’s easily refillable and does the job correctly every time. The adhesive is also long lasting, but if you mess up the first time, you have a few seconds of leeway to reposition it.

Liquid Glue
Regular kids craft glue just doesn’t cut it when it comes to card making. You’ll need a liquid glue to attach embellishments that will be long lasting and have a strong hold. I use this Mono Multi Liquid Glue by Tombow. Don’t be fooled by the little bottle, a little glue goes a long way. Remember, this glue should be used for small adhesions. Your adhesive runner is what you want to stock up on for a majority of your card making projects.
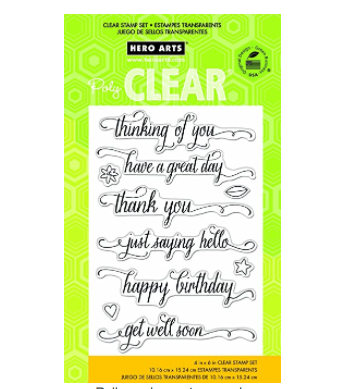
Stamps
If you meet any card maker, you’ll see that they have a collection of stamps: images, sentiments, rubber, photopolymer, etc. Not everyone was blessed with drawing abilities or good penmanship, so that’s where stamps come in. More and more stampers are leaning towards photopolymer stamps (the clear ones) as they take up less space than traditional wood block stamps. You don’t need to go crazy buying stamps to start out. A few basics images and sentiments like this one from Hero Arts will help you decide if this is the hobby for you.

Ink
If you have stamps, you have to have inks. The primary two are dye inks and pigment inks. Dye inks dry faster but you may have to stamp multiple times to get complete coverage. Pigment inks may offer more coverage but they take a while to dry. One ink I recommend everyone having is versamark ink. It’s a “clear” ink that allows you stamp tone on tone as well as use for heat embossing. You can also heat emboss with pigment ink as well.

Heat Gun
You will need a heat gun for heat embossing techniques as well as to speed up the drying process (especially if you paint or watercolor). A hair dryer will not work for cardmaking. You’ll want to get a heat gun specifically made for crafters such as this one from Darice.

Embossing Powder
Another popular technique to add dimension to your card is heat embossing. You stamp an image onto paper with versamark ink or pigment ink. Pour some power over it, and then hit with a heat gun to dry, then you watch the magic happen. I would recommend getting neutral colors and metallics to start.

Dies/die cutting machine or electronic die cutting machine
Think of dies as cookie cutters for your cardstock. They help you cut out interesting layers or shapes without having to work too hard with a pair of scissors. You can do things the manual way with dies and a die cutting machine like the Sizzix Big Shot. I would at least get some basic shapes at the beginning. You can also choose to to the electronic route if you’re tech-savvy. Popular electronic die cutting machines include the Silhouette cameo and the Brother scan and cut.

Embellishments
This is up to you. You can start out with a collection of sequins, or ribbons, or lace, or whatever your creativity desires! With embellishments, remember you need the right adhesive (see above), and either a craft pick or tweezers will help you lay your embellishment into place without getting your fingers too messy.

Coloring medium
Stampers and cardmakers tend to love coloring as well. I personally have the zig clean watercolor marker set and I LOVE it. So many variations of color and so easy to use. Others also love copic markers to color in their stamps. They work much better than your kids rainbow markers. There are so many variations of color so you can be sure to get the exact shade you need. Others also love to watercolor or paint, so it’s really up to you!
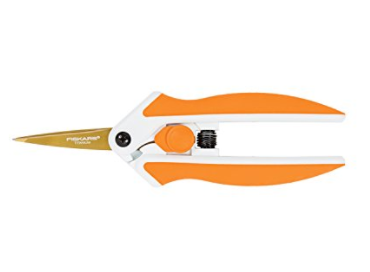
Scissors
This kind of goes without saying but I thought I would throw it anyway. You will need a good pair of scissors to cut paper. I also recommend getting these pairs of scissors. I have the exact pair and they are so much easier on the wrist and hands. These are better for making small snips or cutting around stamped images (also called “fussy cutting”).
What’s in your craft stash right now?
RELATED:

6 Comments on 12 Must-Have Supplies for Card Making – Crafts 101
Comments are closed.
This was an interesting and informative article. Thank you.
Great info for beginners. But I also suggest that you have a cutter. A MUST.
Yes, absolutely!
Great article. I was sorry you didn’t give your recommendations for inks other than Versamark
Could u pls show how to use the Fisk arts paper cutter.
check out my youtube channel, I use it in some on my videos.