
The Dutch door technique can be found in paper crafts and bullet journals. The technique is altering one page of your handmade card or bullet journal by trimming it down or cutting it in a creative fashion. The rest of your paper project can be seen behind the door which adds to the fun surprise of a Dutch Door.

There are many different ways to make a dutch door in your bullet journal or card. It can be vertical or horizontal. It can be different shapes.
For these DIY cards, I used a combination of techniques. I made a basic dutch door, then I stepped it with die cuts, then I made one entirely out of a metal die.
For all of the cards, I started by using this scoring board to create an 8.5 x 5.5 notecard. Listed below are the supplies and the video tutorial. You can watch it below or on YouTube.
Here are 3 DIY Dutch Door Tutorials In Paper Crafts
Supplies
Floral Birthday Card
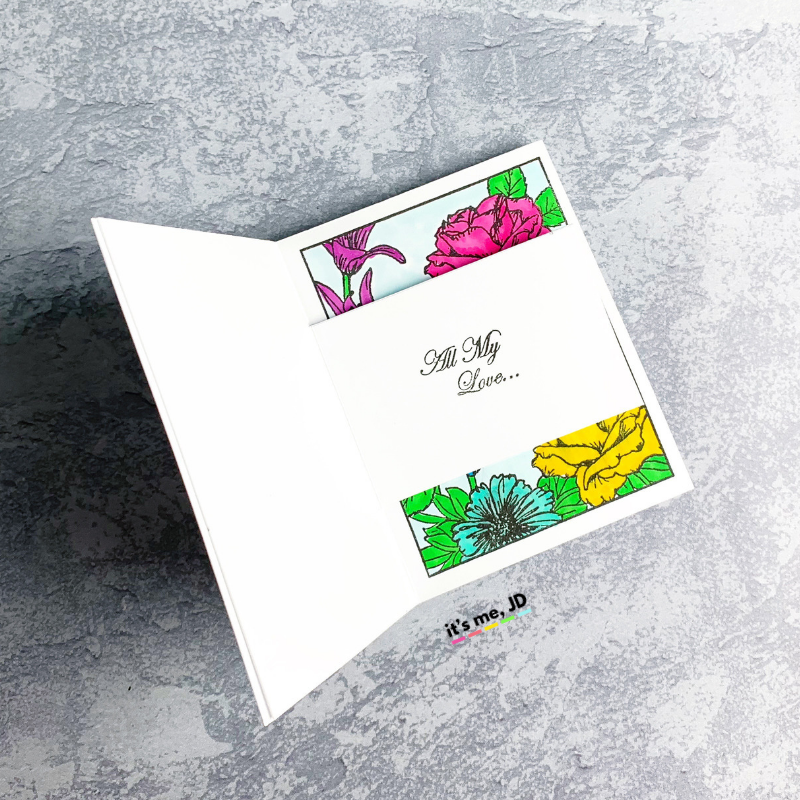

I stamped this floral stamp onto my notecard. Then I colored it in with these markers. Using a pencil and ruler, I cut my Dutch door panel to size. Then I stamped my sentiments on each panel using this black ink.
Mermaid Card


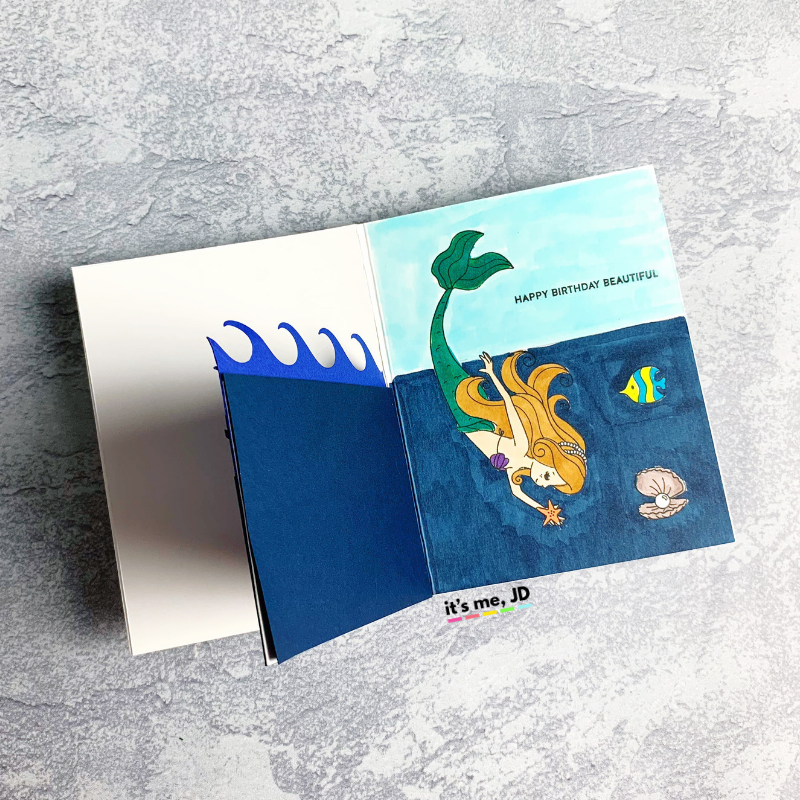
I cover my Dutch door panel with die cuts from this waves metal die. Then I stamped my image from this mermaid stamp set and colored it in. I also use the same stamp set to for the front of the card.
Fairy Card


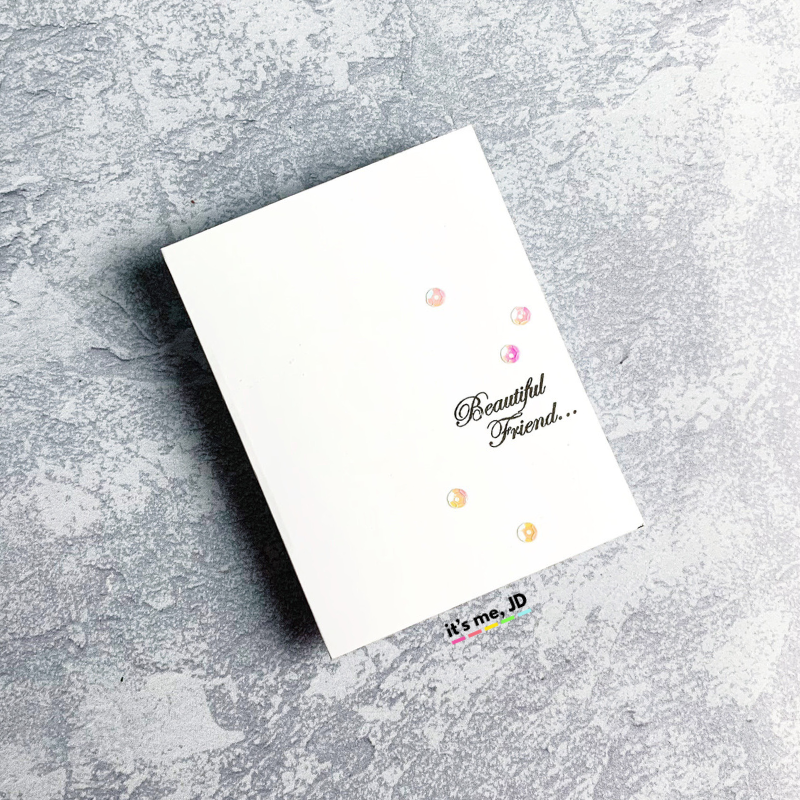
Using a modified die cutting technique, I used this fairy frame to make an edge cut instead of a panel cut. I then ink blended some inks into my notecard. Then I stamped my sentiments from this stamp set. Finally, I added some jewel drops to the front of the card.
Video Tutorial
RELATED:
- DIY Love Cards For Your Boyfriend or Husband
- 10 Easy Shaker Card Ideas That Are Perfect For Beginners
- How to Make A Sprinkle Confetti Shaker Card

2 Comments on DIY Dutch Door Tutorial In Paper Crafts
Comments are closed.
Love your videos! We are wearing the same color polish lol😉
thanks, and love that we coordinate nail polish!